
Tumescent Infiltration Pump and Tubing Sets: The Powered Wetting Setup
Sep
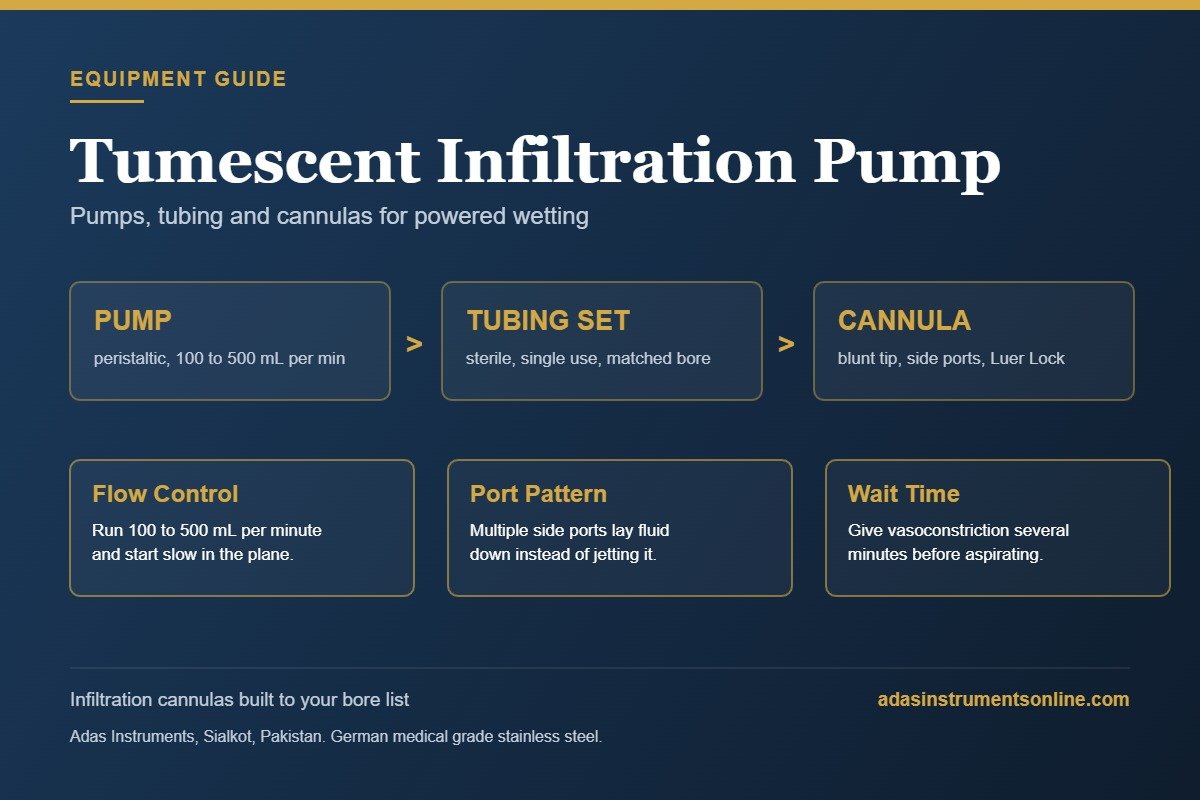
In this guide: the tumescent infiltration pump. Pumps, tubing and cannulas for powered wetting.
Hand-syringing three liters of tumescent solution is a workout nobody needs: the tumescent infiltration pump turned wetting into a controlled, hands-light step, and the pump-tubing-cannula chain is now standard in every body contouring room. This guide covers the powered infiltration setup end to end, and the compatibility points where orders go wrong.
A tumescent infiltration pump is a peristaltic pump that pushes tumescent wetting solution through a sterile tubing set and out through a blunt infiltration cannula, at a flow rate the surgeon sets and repeats. It is used at the start of liposuction and fat grafting, to fill the fat with dilute local anaesthetic and adrenaline before any aspiration begins. Adas Instruments, a surgical instrument manufacturer in Sialkot, Pakistan, makes the cannula end of that chain in German medical grade stainless steel, with Luer Lock and threaded hubs.
The Pump: Flow You Can Repeat
Peristaltic infiltration pumps roll solution through the tubing at dialed flow rates, delivering the same wetting per zone case after case. Foot-pedal control keeps both surgeon hands on cannula and skin. The pragmatic alternative at low volume, pressure-bag infusion, still works for facial and small-zone cases per the cannula types guide, but repeatability belongs to the pump.
Tubing Sets: The Disposable Link
Pump tubing is procedure-specific: a spike for the solution bag, a pump segment matched to the roller head, and a luer lock termination for the cannula. The pump-segment match is the compatibility trap, tubing is engineered per pump family, and generic tubing that fits loosely meters inaccurately. Buy tubing by pump model, cannulas by luer, and the chain always closes.
The Cannula End
Multi-hole infiltration cannulas from our infiltration range terminate the chain, body lengths for pump work, fine patterns for the face. Flow rate pairs with cannula bore: high rates through fine cannulas jet rather than fan, so the dial and the bore are chosen together.
Setup Discipline
Prime the full line before the first stick, watch the first zone’s wetting pattern to confirm metering, and log pump settings per procedure type so any team member reproduces the surgeon’s wetting. Pumps make infiltration consistent; the log makes it institutional.
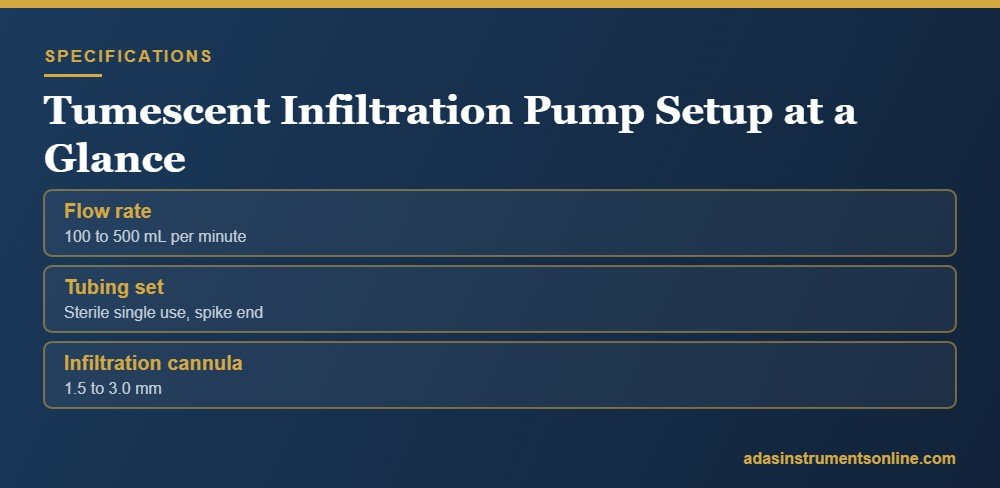
Tumescent Infiltration Pump Setup at a Glance
A tumescent infiltration pump setup has four moving parts: the pump head, the tubing set, the infiltration cannula and the fluid itself. The pump gets the attention, but the cannula bore decides how the wetting solution actually lands.
| Element | Typical specification | Why it matters | What to check |
|---|---|---|---|
| Flow rate | 100 to 500 mL per minute | Sets how long wetting takes | Adjustable at the pedal, not just the panel |
| Tubing set | Sterile single use, spike end | Carries fluid from bag to cannula | Spike fits your bag, no kinks at the head |
| Infiltration cannula | 1.5 to 3.0 mm | Distributes fluid evenly | Multiple side ports, blunt tip |
| Port pattern | Multi hole along the shaft | Spreads fluid instead of jetting it | Ports free of burrs and clear |
| Cannula length | 15 to 30 cm | Reach from the access port | Long enough to avoid extra incisions |
| Handle | Fixed or quick connect | Comfort during long wetting | Locks with no rotation under flow |
| Warming | Body temperature fluid | Patient comfort and vasoconstriction | Warmer thermostat verified, not assumed |
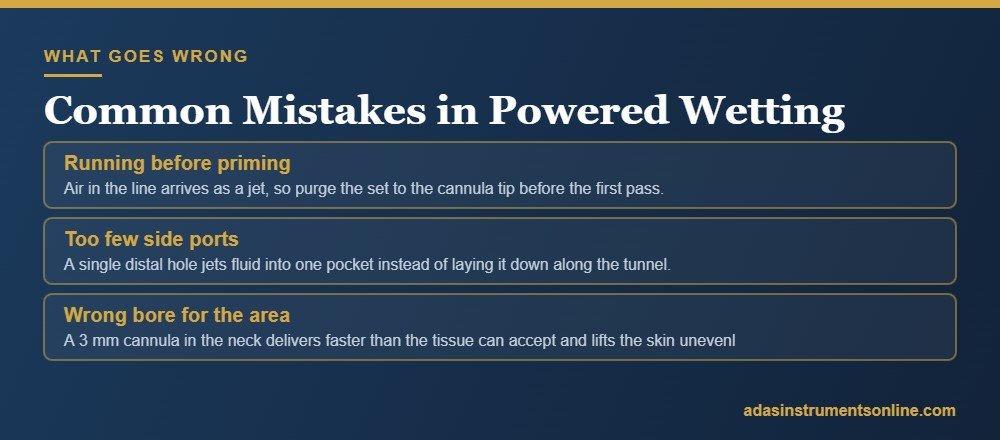
Common Mistakes in Powered Wetting
Powered infiltration is faster than hand syringes, and it is also faster at making a bad plane. Five points matter.
- Running before priming. Air in the line arrives as a jet, so purge the set to the cannula tip before the first pass.
- Too few side ports. A single distal hole jets fluid into one pocket instead of laying it down along the tunnel.
- Wrong bore for the area. A 3 mm cannula in the neck delivers faster than the tissue can accept and lifts the skin unevenly.
- No wait time. Vasoconstriction needs several minutes to develop; aspirating immediately gives you the bleeding you were trying to avoid.
- Reusing kinked tubing. Single use sets are single use, and a set with a memory kink will drop flow without warning mid case.
What to Specify When You Order Infiltration Cannulas
The pump is capital equipment, but the cannulas that carry the fluid are consumable in practice and are made to order. Specify bore, working length, port pattern, port count and hub standard, Adas Instruments builds the whole family to order in German medical grade stainless steel, with OEM or white label marking. See the Infiltration Cannula, fix handle. Production time on custom work is 10 to 15 working days, normally 15 working days depending on order size.
Powered equipment sits inside a device regulatory framework, and the US FDA medical device pages are the reference point for how those categories are defined in the American market. On the instrument side, most practices standardize on two or three bores from a tumescent infiltration cannula range rather than buying one of everything.
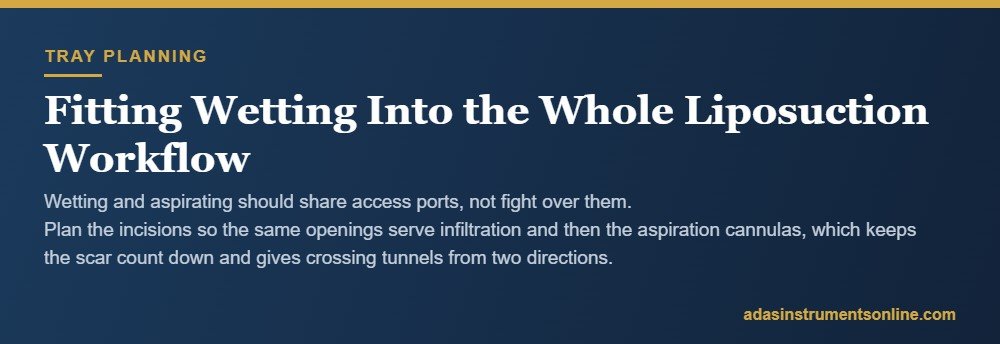
Fitting Wetting Into the Whole Liposuction Workflow
Wetting and aspirating should share access ports, not fight over them. Plan the incisions so the same openings serve infiltration and then the aspiration cannulas, which keeps the scar count down and gives crossing tunnels from two directions.
Keep the disposable side of the tumescent infiltration pump on a standing order: tubing sets, spikes and connectors go through faster than anyone predicts. Racks, caps and cleaning brushes for the reusable cannulas sit with the rest of the liposuction accessories.
Completing the powered chain? Infiltration cannulas and fittings matched to your pump standard.
Frequently Asked Questions
What does an infiltration pump do in liposuction?
It rolls tumescent solution through tubing at a set flow rate, delivering consistent, foot-controlled wetting so large volumes infiltrate evenly without hand-syringe effort.
Are infiltration tubing sets universal?
No: the pump segment is engineered per pump family. Order tubing by pump model and terminate in luer lock, then any luer infiltration cannula completes the chain.
Can small cases skip the pump?
Yes: syringe or pressure-bag infiltration remains fine for facial and single-zone work; the pump earns its place from multi-zone volumes upward.
What flow rate should an infiltration pump run at?
Most practices work between 100 and 500 mL per minute, starting slow in the plane and increasing once the tunnel is established. Fine areas such as the neck and arms stay at the low end; abdomen and flanks tolerate the higher rates comfortably.
How many side ports should an infiltration cannula have?
Enough to lay fluid down along the tunnel rather than jet it into one pocket, which usually means multiple holes spaced along the distal third of the shaft. Single distal hole cannulas are for injection work, not for wetting.
Can I infiltrate by hand instead of using a pump?
Yes, with syringes or a gravity setup, and many small volume cases are done that way. A pump earns its place when volumes climb, because hand infiltration of several liters is slow and hard on the surgeon hand.
Are infiltration cannulas the same as aspiration cannulas?
No. Infiltration cannulas have many small side ports for even fluid delivery and are usually finer, while aspiration cannulas have fewer, larger openings sized to move fat. Using one for the other job gives poor results in both directions.
