
How to Remove Rust from Surgical Instruments (and Stop It Returning)
Oct
Before you try to remove rust from surgical instruments, find out whether it is rust at all. Most brown and orange marks that appear after the autoclave are deposits from tap water, detergent or dried blood, and they wipe off. Real rust is red brown and leaves a pit underneath. The two need different treatment, and treating a stain like rust is how good instruments get scrubbed into bad ones.
Rust on surgical instruments is corrosion of the steel surface after its thin chromium oxide layer has been broken, usually by chlorides from blood or saline, by tap water minerals baked on in the autoclave, or by an instrument left wet in a closed pack. Adas Instruments makes its instruments from high quality medical grade stainless steel that is autoclave safe to 134 C, and the care routine below keeps that steel clean for years. Our sterilization boxes and holloware are part of the same routine.
Key takeaways
- Rub the mark with a pencil eraser first. If bright steel shows underneath, it is a stain and it can be removed.
- A pit left after cleaning means real corrosion. That instrument comes out of service, because a pit holds debris that cleaning cannot reach.
- Most staining stops when the final rinse switches from tap water to distilled water.
- Never use steel wool or a wire brush. Both strip the protective layer and bring the rust back faster.
First, Diagnose: The Eraser Test
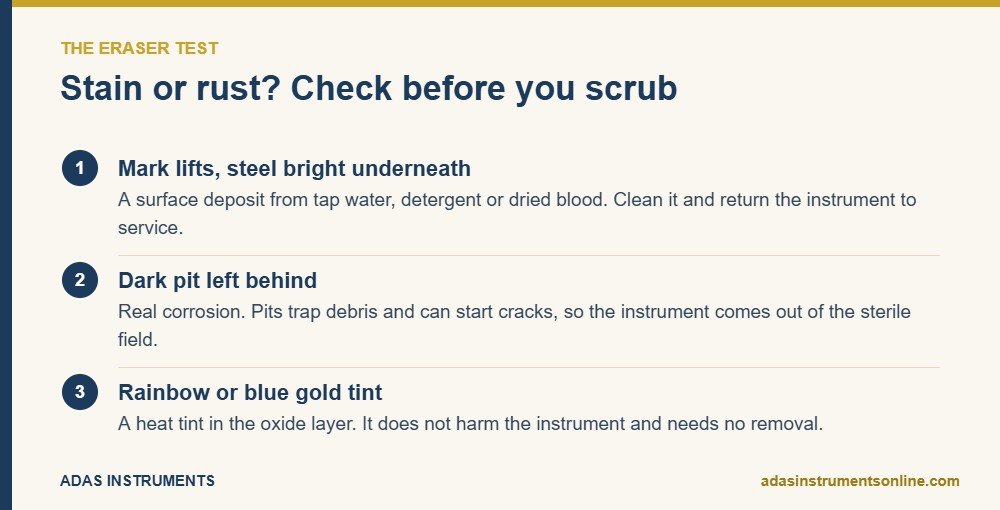
Take a plain pencil eraser and rub the spot hard for ten seconds. If the mark lifts and the steel underneath is smooth and bright, you are looking at a surface deposit. That is fixable, and usually a sign of something in the rinse water or the detergent rather than a fault in the steel.
If the eraser leaves a dark pit, that is true corrosion. A pitted instrument should not go back into the sterile field. The pit traps protein and moisture, the next cycle bakes them in, and over time a crack can start from the bottom of it. On a needle holder or a fine forceps, that crack ends at the jaw.
Rainbow or blue gold coloring is a third case. It is a heat tint in the oxide layer, often from an autoclave running hot or from instruments touching a chamber wall. It does not harm the instrument and it does not need removing.
Removing Stains and Early Rust
Work from the gentlest method upward and stop as soon as the mark is gone.
- A stain and rust remover made for surgical stainless steel. These are usually based on phosphoric acid. Follow the contact time on the label exactly, because longer is not better.
- A neutral instrument cleaner and a soft nylon brush for small local spots. Brush along the serrations, never across them.
- A distilled water rinse, a full dry and a normal sterilization cycle before the instrument goes back on a tray.
Household rust removers do more harm than the rust, and so do bleach and abrasive pads. They remove the chromium oxide layer along with the mark, so the next cycle starts the problem again on bare steel. If a mark survives two careful treatments, or if there is any pitting at the box lock, retire the instrument.
Why Instruments Rust in the First Place
Stainless steel resists corrosion because of a passive layer of chromium oxide a few nanometers thick. Anything that breaks that layer starts the rust.
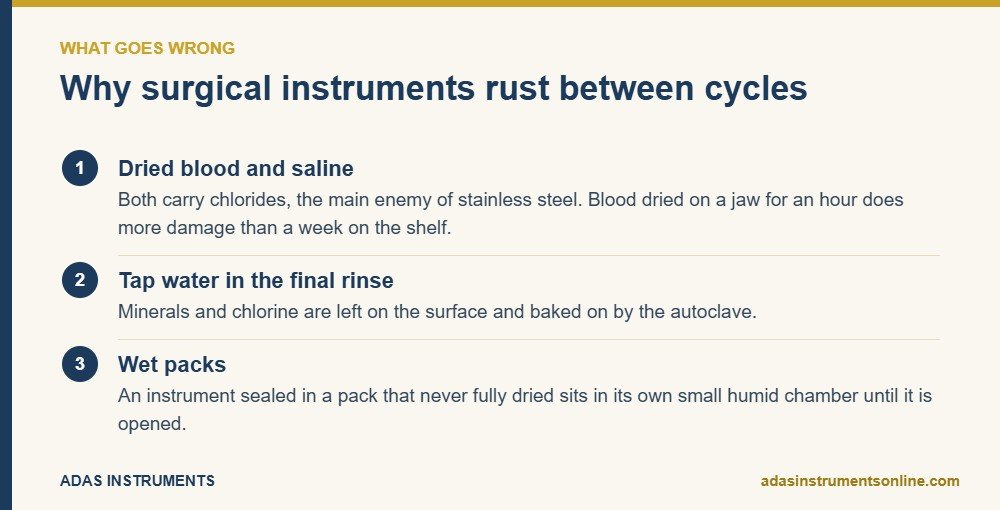
- Dried blood and saline. Both carry chlorides, and chlorides are the main enemy of stainless steel. Blood left to dry on a jaw for an hour does more damage than a week on the shelf.
- Tap water in the final rinse. Minerals and chlorine are left on the surface and baked on by the autoclave.
- Wet packs. An instrument sealed in a pack that never fully dried sits in its own small humid chamber until it is opened.
- Mixed metal soaks. Chrome plated or poor grade instruments in the same bath as stainless ones can transfer rust marks to the good ones.
Our autoclaving temperature and time guide covers the cycle side of this. The habits below cover the rest of the day.
The Five Prevention Habits
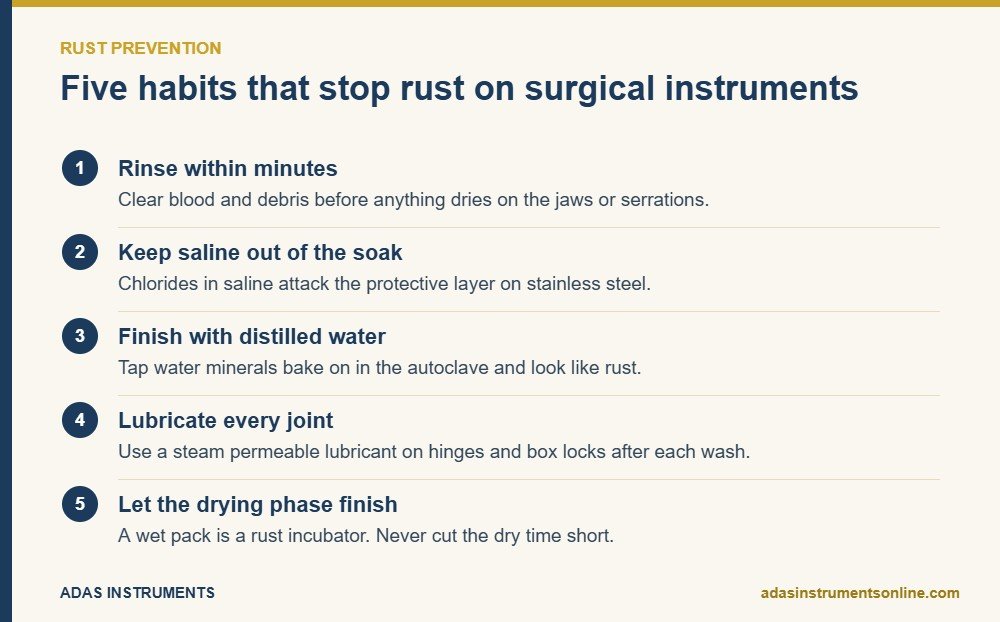
Rinse instruments within minutes of use, before anything dries. Keep saline out of the soaking bath; it belongs in the patient. Clean with an enzymatic detergent at neutral pH and finish with a distilled water rinse. Lubricate hinges and box locks with a steam permeable instrument lubricant after each wash, because friction at a moving joint is where many rust spots begin. Let the autoclave drying phase run to the end, because a wet pack is a rust incubator.
Where the instruments sit matters too. A perforated box lets steam in and lets moisture out, and a silicone mat stops tips grinding against each other in transit. Our sterilization tray guide goes through how to choose and load one. For the reprocessing rules that regulators set for reusable devices, the FDA publishes a short guide to reprocessing reusable devices.
Keep clean instruments dry and apart
Adas Instruments makes perforated stainless steel sterilization boxes in nine sizes, from 150 x 100 x 40 mm to 500 x 250 x 100 mm, with or without a silicone mat, from 9 dollars. Lighter anodized aluminum boxes come in four sizes from 75 dollars.

When Removal Is Not Worth It
Deep pitting, rust inside a box lock, or rust that returns within weeks of treatment all mean the same thing: the protective layer is damaged beyond what can be restored in the department. A professional repassivation service can rebuild the oxide layer on lightly affected instruments, but it cannot fill a pit.
At that point replacement is the cheaper choice. One compromised instrument can cost a whole tray its sterility, and a returned case costs more than the instrument. When a set keeps rusting, look at the water and the drying before blaming the steel, then replace the instruments that are already pitted.
Frequently Asked Questions
How do you remove rust from surgical instruments?
Confirm it is rust with the eraser test, then treat it with a phosphoric acid stain remover made for surgical stainless steel. Brush gently with nylon, rinse in distilled water, dry fully and sterilize. Retire anything that shows pitting afterwards.
Why do instruments have brown stains after autoclaving?
Usually the stains are deposits, not rust. Tap water in the final rinse, detergent left on the surface or dried blood gets baked on in the cycle. Switching the final rinse to distilled water and rinsing sooner after use stops most of it.
Does bleach rust surgical instruments?
Yes. Chlorine attacks the chromium oxide layer that protects stainless steel, and so do the chlorides in saline. Bleach and long saline soaks are two of the fastest ways to ruin an instrument, so keep both out of the cleaning routine.
Can rusted surgical instruments be saved?
Instruments with surface staining or light early rust can usually be cleaned and returned to service, and some can be professionally repassivated. Instruments with pits, cracks or rust inside a box lock cannot be restored reliably and should be replaced.
How do you stop rust coming back?
Rinse within minutes of use, keep saline out of soaks, use a neutral enzymatic detergent and a distilled water final rinse, lubricate joints after every wash, and let the drying phase finish before packs are handled or stored.
