
How to Clean Liposuction Cannulas: Lumen Care Step by Step
Nov
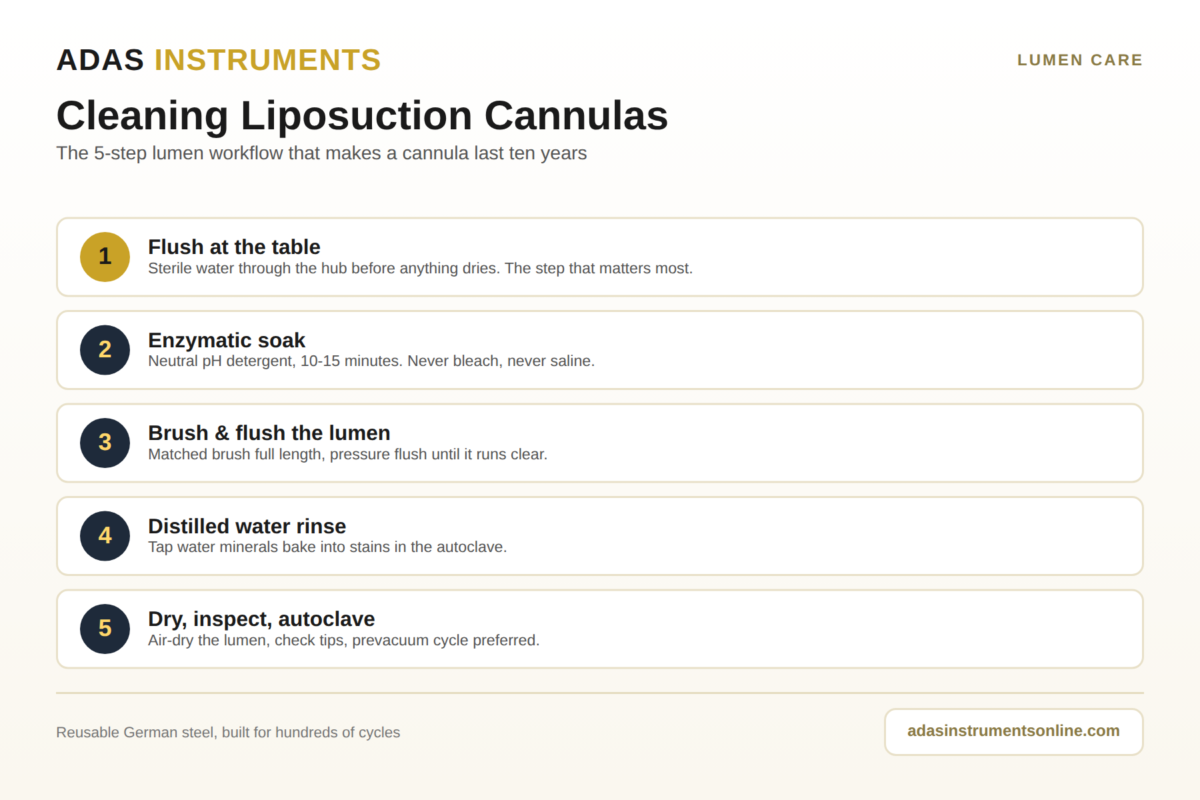
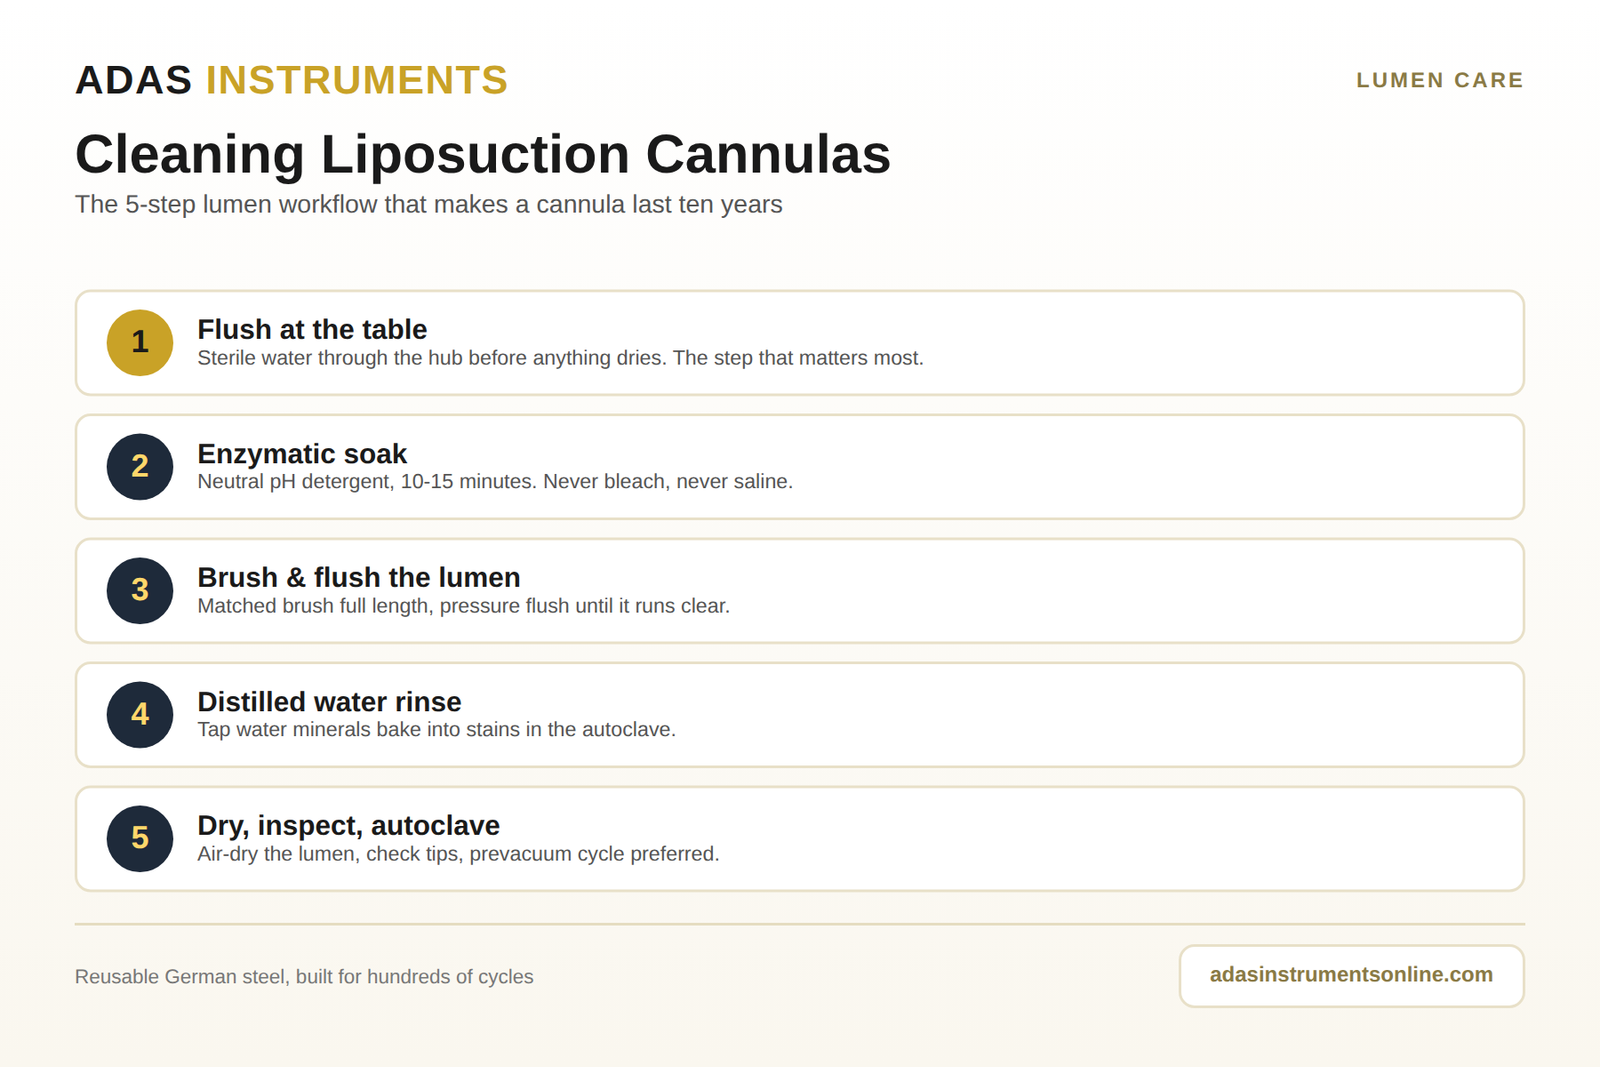
How to clean liposuction cannulas comes down to the inside of the tube. The outside of the shaft wipes clean in seconds; the lumen, the long narrow channel that carries fat out of the body, is where blood, fat and tumescent fluid dry into a film that stains, blocks the holes and starts corrosion. The routine that works has five steps: flush at the table, soak in enzymatic detergent, brush and flush the lumen, rinse in distilled water, then dry, inspect and steam sterilize.
Adas Instruments makes reusable aspiration cannulas and infiltration cannulas in high quality medical grade stainless steel, and this is the routine we give every clinic that buys them. Follow it after every case and a cannula is retired for a worn tip years from now, not for rust next season.
Key takeaways
- Flush the lumen with water before the case is closed. Dried fat is the root of almost every lumen problem.
- Use a neutral pH enzymatic detergent, never bleach, saline or abrasive powder.
- Pass a brush that touches the lumen wall all the way out through the tip holes.
- Make the last rinse distilled water, or the autoclave bakes tap water minerals onto the steel.
Step 1: Flush at the Table, Not in the Sink
The most important step happens before the instruments leave the room. As soon as the last pass is done, push sterile water or saline through the hub with a 60 ml syringe while the incisions are being closed. It takes about ten seconds per cannula.
The reason is chemistry, not tidiness. Fat and blood that stay wet come out with water. Once they dry inside a narrow bore they harden into a film that no soak fully lifts, and that film is what turns brown in the autoclave and holds moisture against the steel. A cannula left on a back table until the next morning has already been damaged a little, even if it looks clean on the outside.
If the cannula cannot be reprocessed within the hour, keep it wet: lay it in a tray under a towel soaked with water, or use a pre-cleaning spray made for instruments. Do not leave it soaking in saline. Salt attacks stainless steel, and a long saline soak is one of the fastest ways to start pitting.
Step 2: Enzymatic Soak
At reprocessing, submerge the cannula fully in a neutral pH enzymatic detergent mixed to the dilution printed on the bottle. Fill the lumen with solution too, using a syringe, so the enzymes reach the inside wall and not only the shaft. Enzymes break down the proteins and fats that a water flush leaves behind. Ten to fifteen minutes is typical, but the contact time on the label is the one to follow.
Three things never go in the bath: chlorine bleach, saline and abrasive powders. All three attack the passive layer on stainless steel, and once that layer is broken, rust spots follow. Keep chrome plated instruments out of the same bath as well, because flaking plating and mixed metals cause spotting on the steel.
Step 3: Brush and Flush the Lumen
Use a lumen brush sized to the cannula: the bristles should be a little wider than the inside bore, so they scrub the wall instead of sliding down the middle. Push it the full length until it comes out through the tip openings, pull it back, and repeat. Then flush the lumen with detergent solution from a syringe or flush gun until the liquid runs clear.
Brush the side holes from the outside as well, with a small soft brush. A Mercedes tip has three openings and a basket tip has more, and tissue packs into the edges of each one. Those edges are also where a cannula does its work, so a hole left half blocked changes how the tip cuts on the next case.

Fine bores need a different approach. On microcannulas and multi-hole spiral infiltration tips, a brush often will not pass, so pressure flushing through a luer adapter and a cycle in an ultrasonic cleaner do the job instead. The ultrasonic bath comes after the enzymatic soak, not in place of it.
Step 4: Rinse With Distilled Water
Tap water carries chlorides and minerals. Left inside the lumen, they bake onto the steel during autoclaving and show up later as white spots, brown stains or a rainbow tint. The final rinse, inside and out, is always distilled or demineralized water. Flush the lumen with it as thoroughly as you flushed the detergent, because any detergent left behind can also stain.
Step 5: Dry, Inspect, Sterilize
Blow the lumen dry with filtered compressed air, or stand the cannula tip down and let it drain. Water left in the bore is the reason packs come out of the autoclave wet, and a wet pack is not a sterile pack.
Then inspect before you wrap. Hold the cannula up to a light and look down the bore; it should be bright, with no dark patches. Run a fingertip in a glove over the tip openings to feel for burrs, check the hub threads for debris, and roll the shaft on a flat table to catch a bend. A bent shaft is a reason to retire the cannula, not to straighten it. Our guide to bent or worn cannulas covers the retirement rules.
Finally, steam sterilize. Hollow instruments do best in a prevacuum cycle, because the vacuum pulls steam right through the lumen instead of leaving an air pocket inside it. The temperatures and times are in our autoclaving guide, which follows the CDC guidance on sterilization.
The Five Steps at a Glance
| Step | What to use | Why it matters |
|---|---|---|
| 1. Flush at the table | 60 ml syringe of sterile water or saline | Stops fat and blood drying inside the bore |
| 2. Enzymatic soak | Neutral pH enzymatic detergent, lumen filled | Breaks down protein and fat a flush leaves behind |
| 3. Brush and flush | Lumen brush a little wider than the bore, flush gun | Scrubs the wall and clears the tip holes |
| 4. Distilled rinse | Distilled or demineralized water | Prevents mineral spots and stains in the autoclave |
| 5. Dry, inspect, sterilize | Compressed air, light, prevacuum steam cycle | Dry packs, no hidden damage, steam through the lumen |
Reusable cannulas, direct from the maker
Aspiration, infiltration and fat transfer cannulas in 2 mm to 5 mm, with luer lock or threaded hubs. Wholesale pricing for clinics and distributors.
The Mistakes That Kill Cannulas
Five habits account for nearly every damaged cannula: letting debris dry overnight, soaking in saline, mixing stainless and chrome instruments in one bath, skipping the distilled rinse, and closing packs while they are still wet. Every rusty cannula a clinic has asked Adas Instruments to replace traced back to one of these five. The steel is rarely the problem; the routine is.
The cost argument is simple. A reusable cannula is bought once and used for years, and the whole routine above takes a few minutes and a few cents of detergent per case. Skip it, and the cannula wears out years early, and a blocked or stained lumen raises questions about sterility as well.
Frequently Asked Questions
How do you clean the inside of a liposuction cannula?
Flush it with water right after use, soak it in enzymatic detergent with the lumen filled, pass a matched lumen brush the full length, flush until clear, rinse with distilled water, dry it and autoclave it. The flush at the table matters most.
Can you put liposuction cannulas in an ultrasonic cleaner?
Yes. Stainless steel cannulas handle ultrasonic cleaning well, and it is especially useful for multi-hole infiltration tips and fine bores a brush cannot pass. Use it after the enzymatic soak, and still brush any lumen wide enough to take a brush.
Why do cannulas stain brown after autoclaving?
Brown or rainbow staining is almost always residue baked onto the steel, from tap water rinsing or a skipped enzymatic soak, not rust. Switch the final rinse to distilled water, make sure the lumen is clean before sterilizing, and the staining stops.
What size brush do I need for a cannula?
Choose a lumen brush slightly wider than the inside bore so the bristles touch the wall, and long enough to pass the full length and exit through the tip holes. For bores too fine for any brush, use pressure flushing and an ultrasonic bath.
How often should liposuction cannulas be replaced?
With correct cleaning, a stainless cannula is retired for tip wear, burrs or a bent shaft, not corrosion. Inspect it after every reprocessing cycle and take it out of service when the tip holes are worn or the shaft no longer rolls straight.
